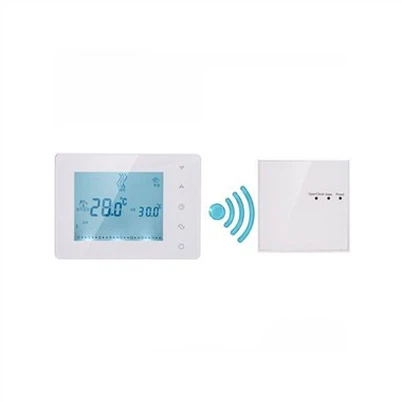
How To Install A Floor Heating Thermostat?
Leave a message
How to Install a Thermostat for Radiant Floor Heating
Installing a thermostat for radiant floor heating is a simple process that can be done in a few easy steps. Here's how to do it:
Step 1: Turn off the Power
Before you begin the installation process, always turn off the power to the heating system. This will ensure that you are safe throughout the process.
Step 2: Remove the Old Thermostat
Remove the old thermostat if you have one in place. If not, locate the wiring that was used for the old thermostat and mark them so you know which one goes where. You can then remove the wiring by loosening the screws that fasten them.
Step 3: Install the New Thermostat
Place the new thermostat where you would like it to be installed, ensuring that it is level. Connect the wiring, ensuring you have followed the wiring diagram that came with the new thermostat. Tighten the screws that hold the wiring in place and then ensure the thermostat control panel is securely attached.
Step 4: Test the Thermostat
Once the installation is complete, turn on the power to the heating system and test the thermostat. You can do this by adjusting the temperature settings to a comfortable level and then switching the heating system. The thermostat should activate the heating system and maintain a constant temperature.
Step 5: Adjust the Settings
Finally, you can adjust the settings on your new thermostat to suit your needs. If you want to conserve energy, you can choose a lower temperature setting during the day, and a warmer setting in the evening when you are at home.
Installing a thermostat for radiant floor heating is a simple process that can be done with basic DIY skills. Just make sure to follow the manufacturer's instructions and always take safety precautions. With these simple steps, you can have a new thermostat installed in no time and enjoy the benefits of an energy-efficient heating system.